Adding and editing schedules
Audits and inspections can be scheduled in ‘Manage Checklists - Checklist Schedules’. Scheduled events can then be viewed, started and completed by users in the Mobile App.
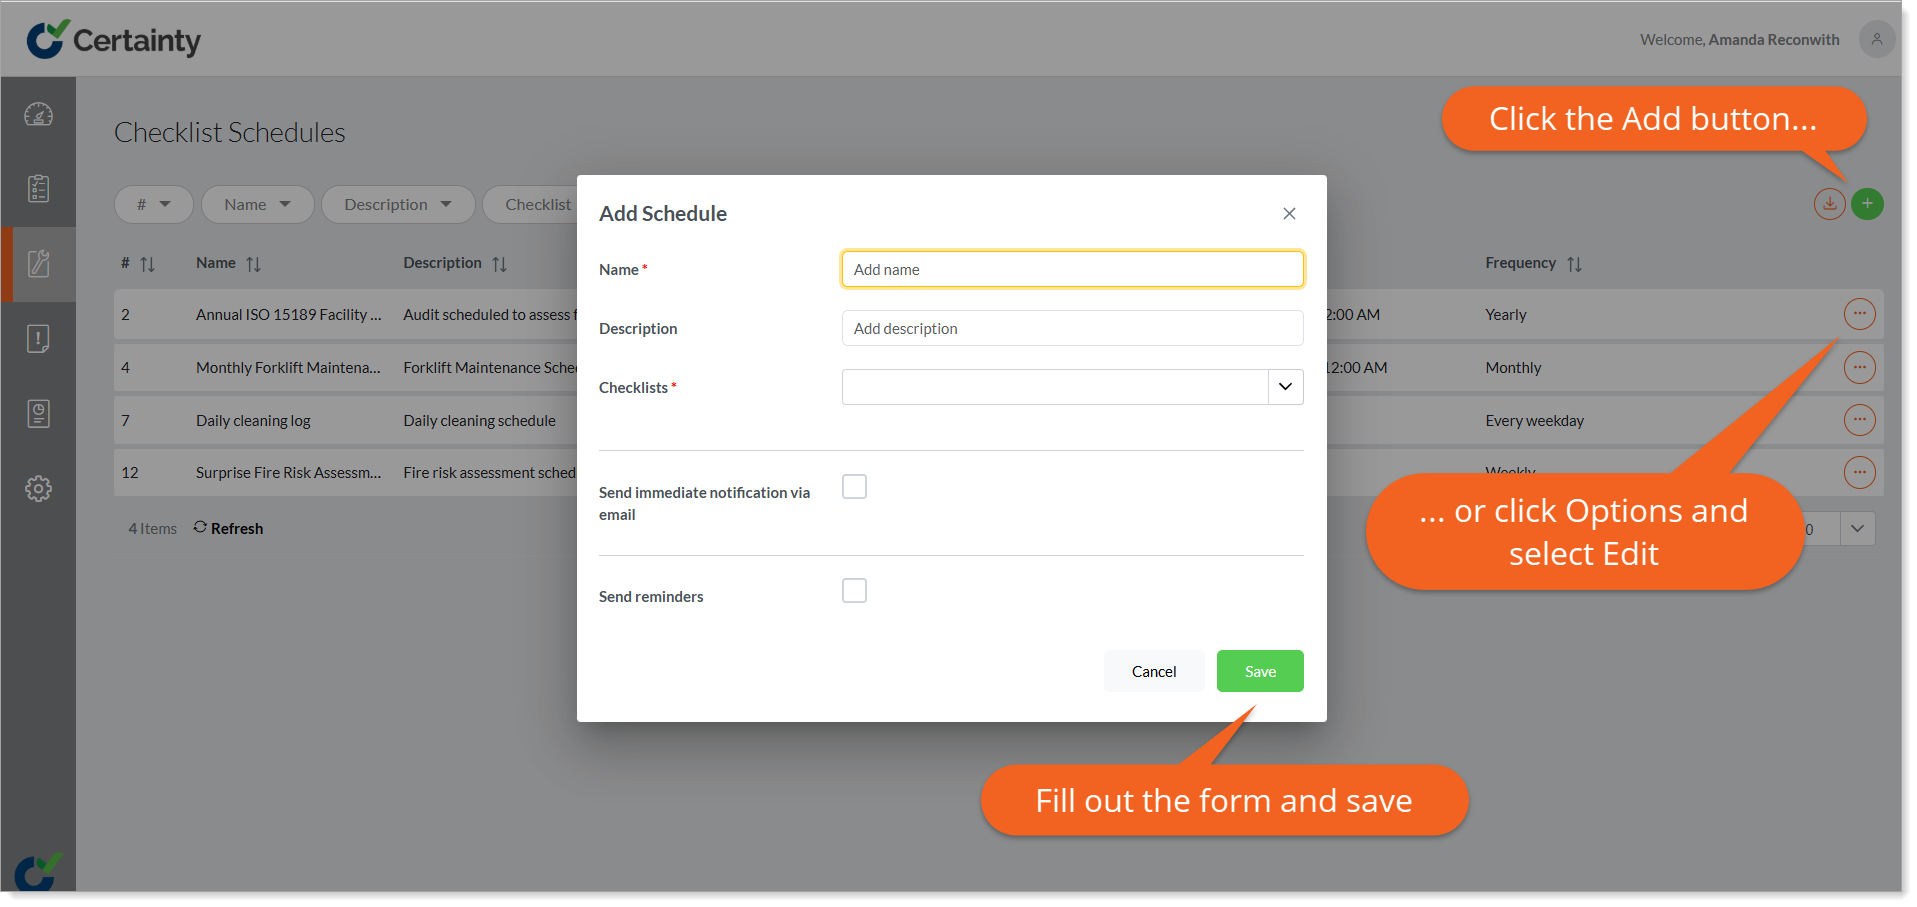
To add a schedule:
- Go to ‘Manage Checklists – Checklist Schedules’.
- Click on the green ‘Add’ button to open the ‘Add schedule’ form.
- Give the schedule a name and description.
- Indicate which checklists this schedule is associated with.
- Select the sites and site groups that will be required to complete an audit or inspection according to this schedule.
- Select the users and user groups that will be required to complete an audit or inspection according to this schedule.
- Decide what the frequency (of audits or inspections) is for this schedule.
- Decide what the recurrence (of audits or inspections) is for this schedule.
- Set the start date, time and end date for the schedule.
- Decide what the ‘window’ should be for ‘Audit availability (days)’ before and after the scheduled date. This will allow or prevent Mobile App users from starting the scheduled audit or inspection if the present date falls outside this window.
- In the ‘Required events per frequency” field set how many events (audits or inspections) are required for each week, month etc. (see ‘Frequency’).
- If you want to notify all Mobile App users of the schedule select “Send immediate notification via email’.
- You can also select ‘Send reminders’ to the Mobile App users responsible for completing the audits and inspections.
- Click ‘Save’.
Your schedule is now live and will be visible to Mobile App users associated with it.
To edit a schedule:
- Go to ‘Manage Checklists – Checklist Schedules’.
- Select ‘Edit’ from the ‘Options’ menu in the top right corner to open the ‘Edit Schedule’ form.
- Change the details as required.
- Click ‘Save’.
When saving edits to an existing schedule, any random elements (random user assignment or random site assignment) will be reshuffled.
To add an additional event to a Schedule:
- Go to ‘Manage Checklists – Checklist Schedules’.
- Click on a row in the main record table to open the schedule details page.
- Click the ‘Add Event’ button at the top right of the ‘Events’ table.
- Fill out the site. User and event date in the form that appears.
- Click ‘Save’.