Adding or editing Checklist Groups and linking Checklists to Checklist Groups
Using checklist groups helps organize checklists for both Mobile App users and users in the Admin Portal. Checklist groups are also helpful when reporting on audit and inspection results.
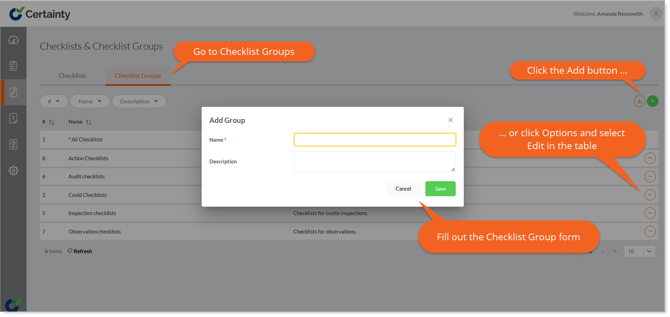
To add a checklist group:
- Go to ‘Manage Checklists – ‘Checklists & Checklists Groups – Checklists Groups’ to open the checklist groups table.
- Click on the green plus sign to open the ‘Add checklist group’ form.
- Give the the group a descriptive name.
- Add a description of the checklist group.
- Click ‘Save’.
Once you have added the checklist group, it will appear in the main record table in ‘Checklist Groups’.
To edit a checklist group:
- Go to ‘Manage Checklists – ‘Checklists & Checklists Groups – Checklists Groups’ to open the checklist groups table.
- Find the row of the group you want to edit and click on the ‘Options’ menu on the right side of the row.
- Select ‘Edit’.
- Change the details.
- Click ‘Save’.
Linking and unlinking checklists to/from checklist groups
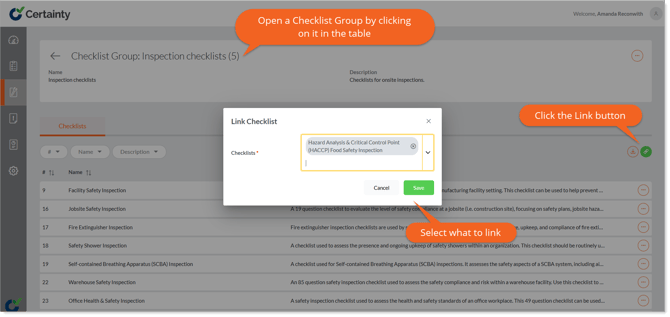
Once you have added a checklist group, you can link checklists to it.
- Click on its row in the table and then click the tab ‘Checklists’.
- Use the green ‘Link’ button at the top right of the table to link checklists to the group.
- Click on the ‘Options’ button to the right of the row of the checklist you want to remove and select ‘Unlink’ to remove a checklist from the group.